
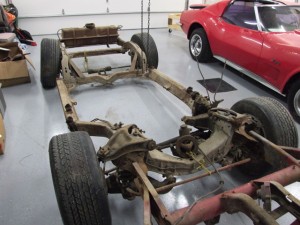
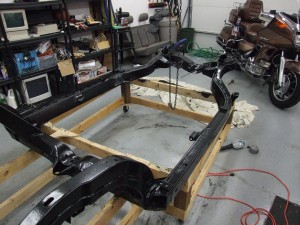
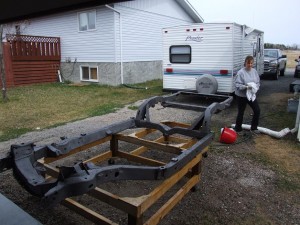
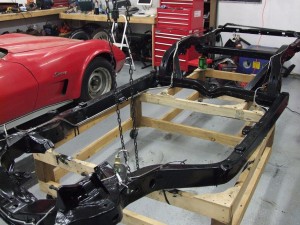


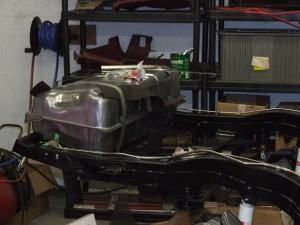


The car we are restoring had a rusted out frame, that was just too far gone to restore. We found this Manitoba car for parts, and it had a solid frame.


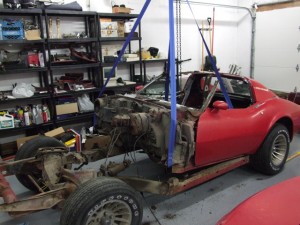
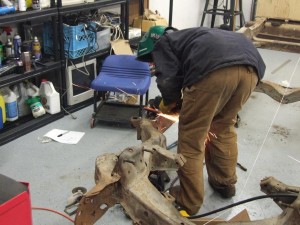
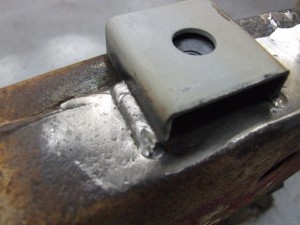
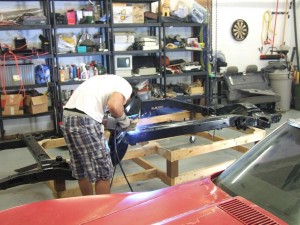
I ground off the old body mounts, and welded on new ones. (Well… Ben did anyway…)


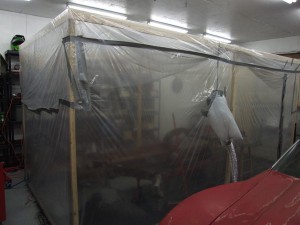
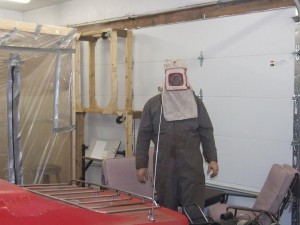
I built a sand blasting tent in my garage, and took the frame down to bare metal.


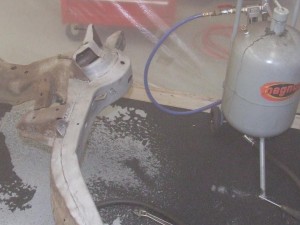
Rinse after blasting…

Once sandblasted, rinsed, and prepped with MetalReady, I coated with POR15 Epoxy and top coated with Chassis Black! (right) My son Brock helping with some last minute welding…


Next, I installed the stainless brake and fuel lines…


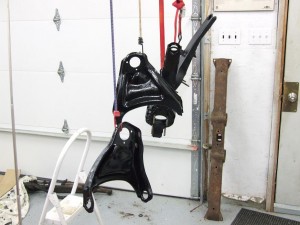
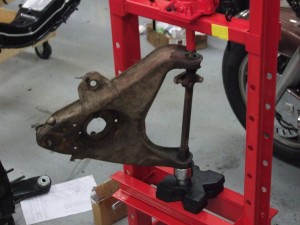
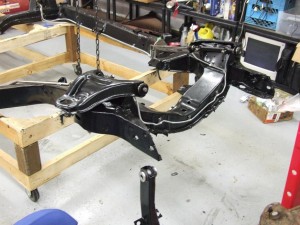
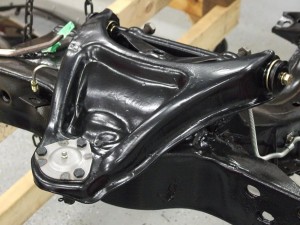
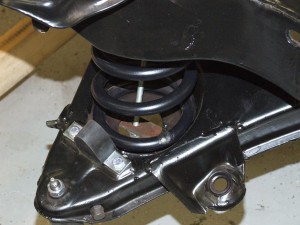
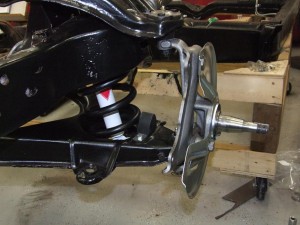
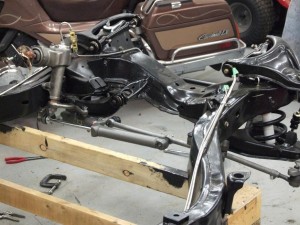
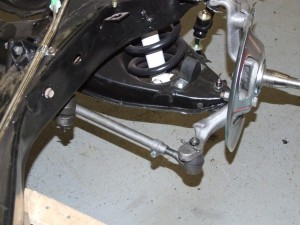
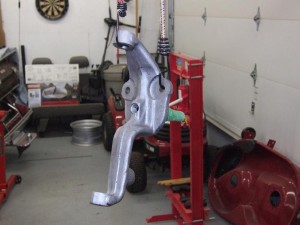
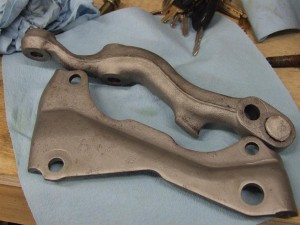
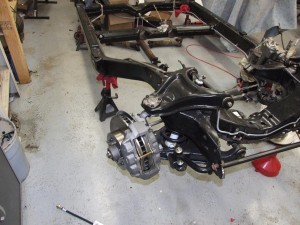
Next, I blasted and coated the upper and lower control arms


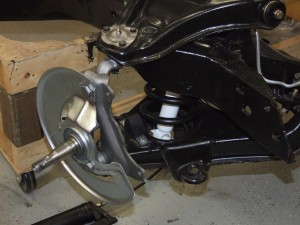
and then install… with new bushing, and also new ball joints!


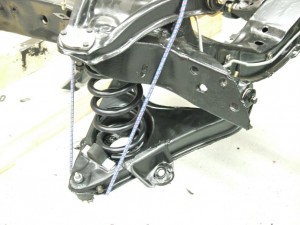
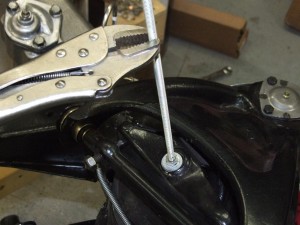
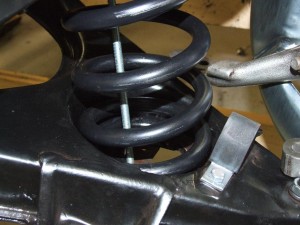
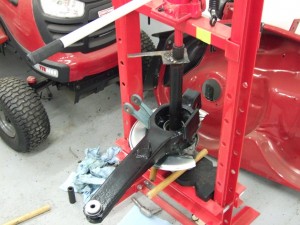
I used ready rod to pull the new coil spring into place.


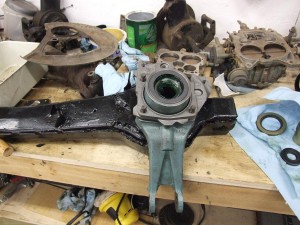
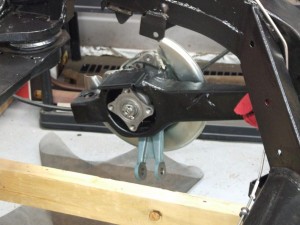
Then sandblast & install the spindels and shocks


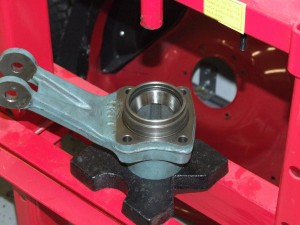
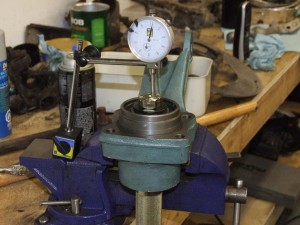
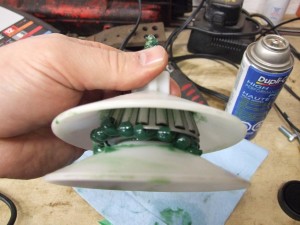
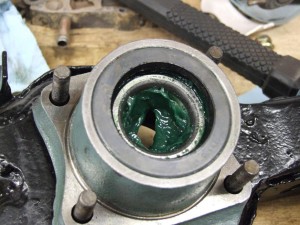
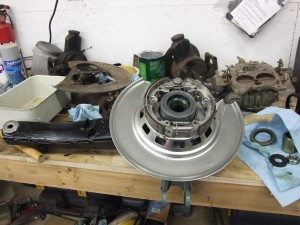
Now we setup the spindles for the rear trailing arms.. the bearing preload is set with shims
and must be measured before finally assembly.


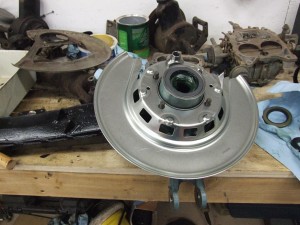
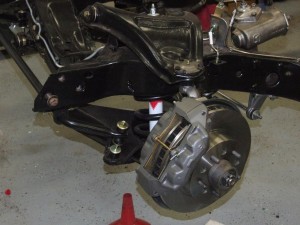
Now install the brakes…


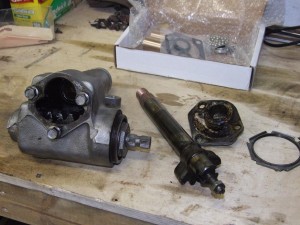
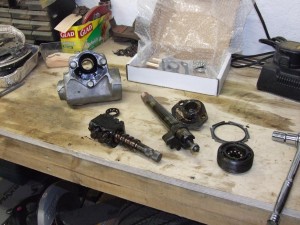
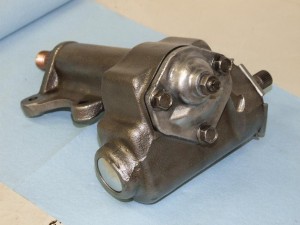
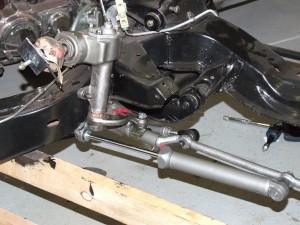
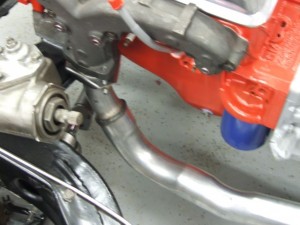
Rebuilding the steering box…


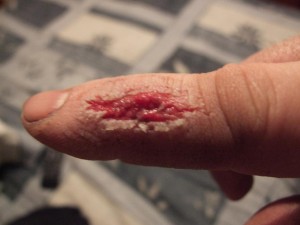
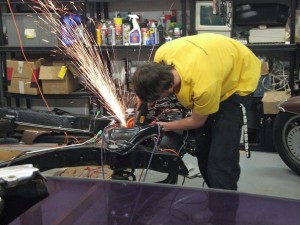
Woops… Always remember to wear gloves when using the grinder!

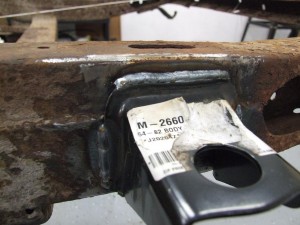
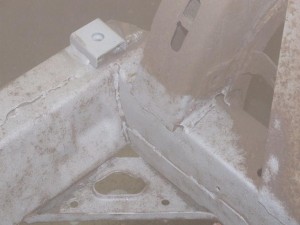
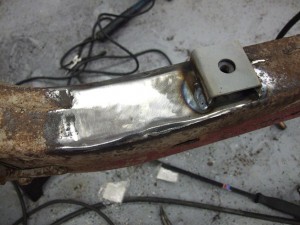
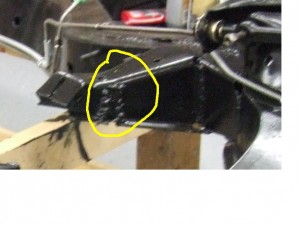
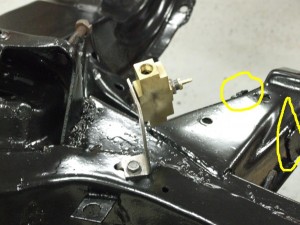
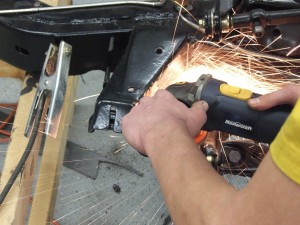
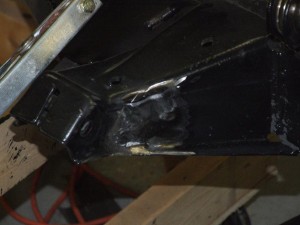
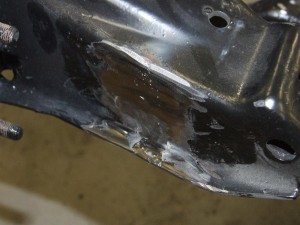
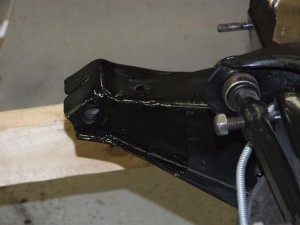
Bad stick weld on the engine mount from previous owner bothered me… had Andy fix it for me.


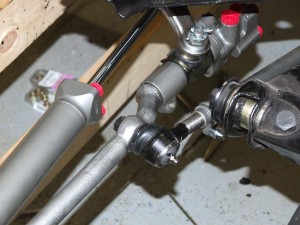
Next I installed the steering linkage. I was a combination of cleaning the existing parts, and combining with a powersteering renew kit.


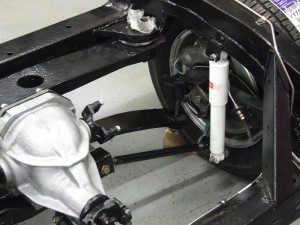
Next the rear suspension

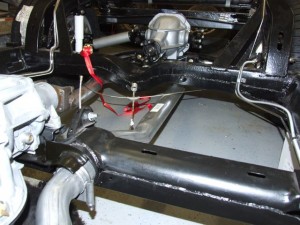
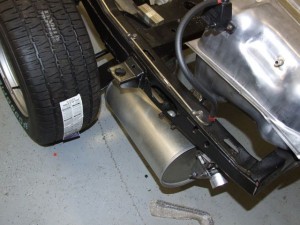
Exuast System – Aluminized


